cabin fever? pep up your valentines....

i love the old fashioned conversation hearts on valentine's day! not much has changed about them since i received my first box back in mrs. squire's preschool class. there still is a little "to and from" area on the back, but i prefer to personalize these darling little boxes a bit more than a ball point pen can offer. this is such an inexpensive little project, and my five year old really had fun with it. we picked up several 4 packs of the candy boxes at hobby lobby, where the cashiers all know us by name. we picked up some thin red grosgrain ribbon, felt heart stickers and my fave vintage valentine scrapbook paper. i use it every year. i will cry if it ever gets discontinued.
we then printed out small pictures of lucy on cardstock, complete with a valentine's message (i printed mine on the photo, but it would be cute handwritten too). i cut these into tags a bit smaller than the candy boxes. lucy punched a hole in the top of each. we twisted chenille pipe cleaner at the top of each tag (i had a bunch of this in my craft cabinet - why do i love pipe cleaner so much??) we then cut the scrapbook paper into strips wide and long enough to cover the middle of each box. we wrapped them around each box, using tape to secure the paper. we slid the picture greeting tag underneath the scrapbook paper on the front of the box, with the pipe cleaner sticking out of the top.

lucy drew, colored and cut out hearts and pasted them on the back of each box.


we added a felt heart to the front, and tied a small piece of grosgrain ribbon around the middle. for a small amount of kiddos, i would hand-stamp their names on the front. for an entire classroom, however, i will leave them as is..... a little box of love for lucy's little friends!


a day in the life...

i've been meaning to do some "day in the life" photos for awhile now. i've always taken tons of photos, especially since my daughters came along - i mentioned in my bio piece that i literally wore out TWO point & shoots when lucy was a baby. however, i've never purposely taken photos over the course of an every-day day - a whole day of non-orchestrated candids.

my workshop's latest assignment is about using available light to create photos that don't require a lot of photoshop editing. soooo...these aren't sharpened for the web or anything. pretty much straight out of the camera. the black & whites are obviously converted, but otherwise untouched. none of these pictures are perfect by any stretch of the imagination, but i love them. my two girls....at home on a tuesday.

when i look back at some of the photos i edited when i was first learning to maneuver through photoshop, i totally cringe - they are so overly saturated, overly edited - way over the top. i remember reading the photography section of the pioneer woman's blog, in which she describes some of her early photos. she writes that she has a stack of pictures in which her children's eyes are so overly sharpened, they look like little "cyborgs". that cracked me up. now looking back, i have a photo card of a baby lucy that should have read, "take me to your leader" instead of "merry christmas". don't get me wrong - when i have a photoshoot for a client, i spend an ample amount of time in photoshop trying to produce the best possible image gallery. i just don't want the end result to look too....photoshopped....does that make sense?

anyway.....i will spare you from the entire day's worth of photos...but here's a bit of my assignment: a day in the life of lulu and roo....

lucy is always up with the sun. we aren't planning on venturing out, so i let her dress herself and do her own hair. faded jeans, size 3T bunny tee-shirt, fur lined jacket, major bed head. we play a quick game of monkeys on the bed waiting for sister to stir. lucy always wins.

guess who's awake? she likes to stand in her crib and be entertained for a bit before getting out. lucy karate kicks a stuffed animal around the room. ruthie laughs and mimics, "hi--yaaaaa!"

as i carry roo out of the nursery, she always deposits her pacifier into the pewter bowl on her bookshelf. i laugh every time. today i had to snap a picture. i have this fear of forgetting the little things.... it's going by way too fast.

ruthie shares each meal with annie. these two have a connection i can't explain. it's really cool.

it is a gorgeous morning, and the girls wanted to have a little top down fun. ruthie has a leopard fur jacket over her footie jams, and lucy has added a halloween clip to her bed head.

i love the way lucy gets a kick out of ruthie.

ever get that little whisper that says, "remember this....."? yep - heard it.

it's only 8:45...

back inside for a little accessorizing....

i know one of these days i'll turn around and realize my kitchen will be quiet. i won't hear leapfrog's screechy version of "she'll be comin' round the mountain" every 5 minutes. and that will be a very sad day.

aaaah........nap time for baby.

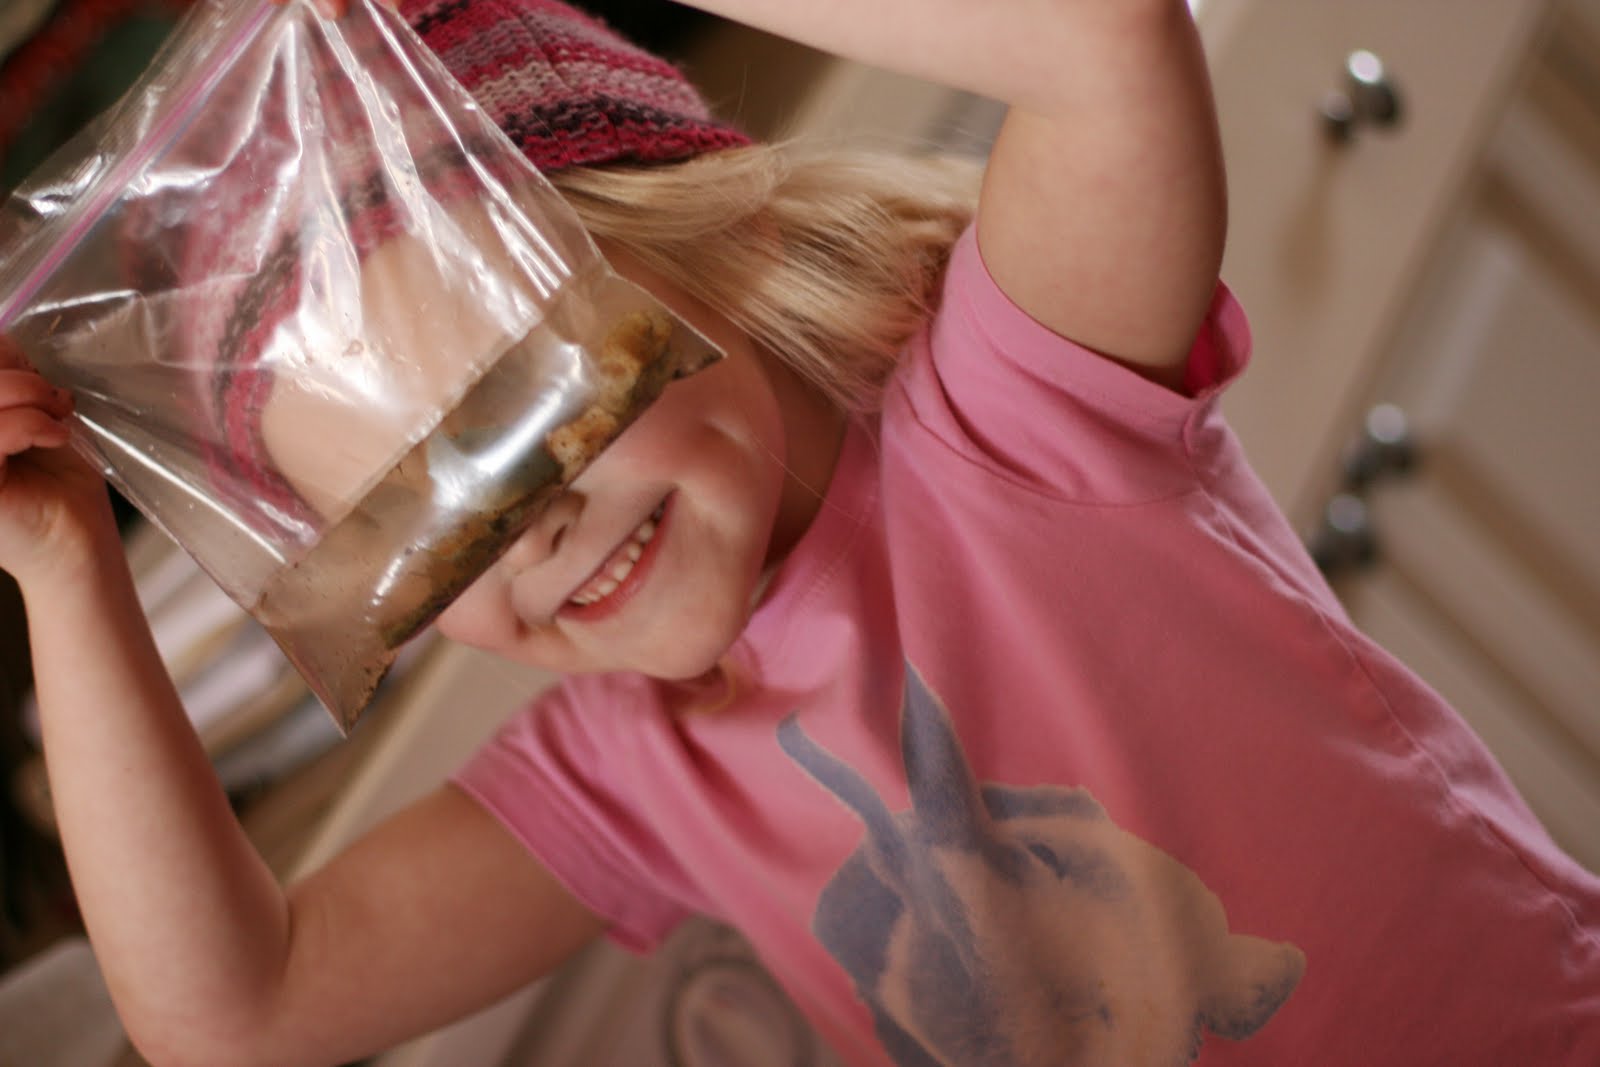
also known as science experiment time....(with a slight wardrobe change -- the addition of a very small knit hat...)

a glass jar, tap water, dirt and rocks...awesome.

transferring the project to a ziplock. countless paper towels sacrificed their lives for this experiment.

this is as close to homeschool science she's going to get...

wait - lucy? where's that glass jar?

trying to talk the robot into picking up the playroom. didn't work.
silly lulu...

love this kitchen window light.... yum.

she looks so grown up to me here. sigh.

guess who is up from nap, dressed and ready for a snack? she's doing the sign for "again", which in this case also means "gimmee something to eat!"...

and we'll end with this one - i'll call it mischief personified....

a valentine from baby....


this was such a fun little valentine project - a gift from lucy to her daddy. it cracks me up when i look at it, though. lucy had just turned one, and i had her in a diaper on some newspaper on the kitchen floor fingerpainting!  so far my second little imp, ruthie, has eaten a few markers, scribbled on the tile and wall with crayons and used an open stamp pad as a pretend cell phone. i will NOT be giving her free reign with the paint box any time soon.

anyway, this was easy & cheap and still looks cute on our playroom wall. i had found some old album frames gathering dust under the bed. i removed a willie nelson record cover from one of them and decided to put it to use again. (the square scrapbook frames now available at hobby lobby and michael's would work even better, however.)

i put lucy on some newspaper and gave her a paper plate filled with globs of primary, washable fingerpaint. by the time it was over, she had happily painted on several sheets of white fingerpaint paper (any paper would work), on her diaper, her hair, on the newspaper, on the tile and a little on the cabinets. i of course took about 325 photos.

i took a sheet of red & white gingham scrapbook paper and chose a colorful portion of one of lucy's paintings. i tore it to fit onto the scrapbook sheet without covering all of it, and pasted it on. i made a small print of one of the photos from the paint session, matted it, and pasted it to the scrapbook page. i added a couple little accessories i had in my scrapbook cabinet, then stamped some hearts and "daddy be mine" across the bottom. i used craft paint for the stamping instead of an ink pad, so the letters would adhere to the photo & shiny paper. i wrote the occasion and year along the side, and wrapped it up for valentine's day. i used another one of the frames for a father's day gift a few months later. i framed lucy's little hand print (pictured above), then added an overlay that said, "my finger may be small, but i can still wrap daddy's finger around it" (there are tons of choices at hobby lobby & michael's!) i decided to come up with something different for the next gifting occasion -there's only so much space on our playroom walls...

i cut the remaining paintings into smaller rectangles, used pinking shears to cut out more small pix of lucy, and created valentine's cards for friends and family. a few years later, they continue to adorn fridge fronts in texas and oklahoma. i love how the simplest of gifts can be everlasting symbols of love.


valentine's day is just around the corner...

need a sweet valentine's gift idea?
okay, i realize that some of you are really going to barf at this one. and that is a risk i'm willing to take. that's how much i loved this project. when my hubby and i were newlyweds, i wanted to do something really special for our first valentine's day together. i started jotting down little things i liked about him in a notebook. i kept the notebook with me at work, in the car, etc. i recorded very simple sentiments, such as how i like the way he always did the laundry (still do, honey!!!), how i think it's cute that he's not too manly to cry at old movies. or new movies. or weddings. or graduations. or baptisms. you get the idea. anyway, i started out with the idea to type up my little handful of affirmations, cut them out, and put them in a little jar or something. however, my notebook really began to fill up. in a few days, i had about 100 little notes. i decided to try to come up with 365 sweet nothings, and he could open one every day of the year. (need a barf bag yet? like i said - we were newlyweds.......). i typed up my thoughts and cut them out in strips. i found the coolest vintage martini shaker in a flea market to hold them all. when he finally opened his valentine's gift, he really was pretty speechless. and he didn't wait to pull one out each morning, either. he dumped out the shaker and read them all on the spot. then, he put the strips back in, wiped his tears (hahaha! just kiddin', shane!!) and the container sat on the corner of our dresser, reminding him of how darn cool his new wife was. a year later, i noticed the jar was missing from the dresser. i was the one shedding a tear or two when i opened up my valentine's gift from him. he had refilled the shaker with little statements about me! it is truly one of the sweetest gifts i've ever recieved. this could of course be modified in so many ways for children, parents or grandparents, etc. it's a cool project. you'll be surprised at how many little, every day things you appreciate and love about the special people in your life. so open your notebook, get your pen, and start taking notes.....

cheap thrills & pirate booty


i don't know where or why i came up with this little plan, but it sure was fun! this little adventure can be adapted to fairy treasure, leprechaun loot, or anything else your little one is intrested in. our sweet neighbors handed down their awesome playfort swingset to my girls this past august. for some reason, the structure just screamed PIRATE HIDEOUT to me! i decided to make it official. summer was about over - it was lucy's first week at her new preschool, and i wanted to create a memorable end to a bittersweet adjustment week. (bittersweet for mamma...she had a blast!) i went to the dollar store and found a cool black bucket with rope handles, some gold and silver beads, lots of gold coins, little skull thingies on a rope, a pirate hat/patch set, red bandanas, and multi-colored decorative glass rocks (pirate jewels!). i think it was a $9 total. i placed the pirate booty in the bucket, then grabbed some scrapbook paper. i tore the edges of the paper, burned them a bit (i know you just rolled your eyes! it really did make it extra cool!), and wrote a note to lucy from the pirates. i used some pirate language to make it legit....something like: "dear lucy, please be a bonny lass and guard our pirate treasure....arg!" i rolled up the note, tied it with black twine, and stuck it inside the bucket. i hid the bucket in the back yard, then made a map that led from the new playfort to the pirate's treasure. i placed the treasure map in the playfort, under a pirate hat wrapped in a bandana. when lucy came home, we told her we might have see some pirates in the neighborhood! she was intrigued, and when she went out to her playfort, she was elated to find her map!!! she followed her treasure map to the pirate loot. she immediately hid the pirate booty in the sandbox under the playfort, where it stays buried today, awaiting the pirate's return. she still loves to dig it up and rebury it every time she's out there.
p.s....this could be a fun idea for a playdate activity. if you have more than one child involved, you could rip the map into pieces, and the kids could find pieces of the map first & put the pieces together before they could hunt for the treasure (remember that "backyardigans" episode?) it would also be fun to leave clues...bandanas, coins etc. hidden in spots along the way.

a project for your little picasso...


this project was so much fun for my little lucy, who was four years old at the time. i had an expanse of wall space that needed a little flair, canvases were on sale at hobby lobby, and lucy needed a quiet indoor activity during little sister's nap time. you can obviously make this project as big or as small as you'd like. lucy has smaller, framed versions in her bedroom and bathroom. also, a four inch square painted canvas
propped on a little easel makes a charming, colorful gift for grandparents, etc. after completing our project, lucy was actually comissioned by a family friend to create a series of three giant canvas panels for their master bedroom. she is in the process of completing those in the first image above. the second collage of images shows the canvas she painted for our kitchen. (playrooms are also great places for these masterpieces!)
if you are going to take on this super fun & messy project, you'll need:
  • canvas/canvases (hobby lobby often has a sale on these - they are in the art department) i recommend the canvases that are wrapped around a thick wood frame. they are ready to hang and do not need a frame.

  • multiple tubes of acrylic paint (e.g. apple barrel brand craft paint) you will need to choose one main color to use as your background paint (i don't recommend leaving the canvas white) in the examples above, the first entire background is deep red, and the second canvas is turquoise. choose several colors to layer together. make sure you have dark, medium & light colors to give the painting some depth.

  • paint brushes (you will need one large brush for the background color, and lots of different sizes and styles of brushes for the paint layers. lucy used all sizes & shapes of foam & nylon brushes.)

  • paper bowls or plates for the paint

  • spray gloss acrylic sealant for the finished product...also available at hobby lobby

  • lots of wet and dry shop towels

  • newspaper

  • paint clothes
steps:
  • spread newspaper under your canvas (you might need two spots for this project. your artist might want to paint standing up, with the canvas propped up against a wall, table or window, and sitting down on the floor or at a table. moving around encourages a bigger variety of strokes, etc...)

  • paint two layers of your base color over the entire canvas - front and sides -and let it dry

  • pour paint into containers - it's okay to put a few colors next to each other on the plate or in the bowl. they will naturally want to mix the colors, and as long as they don't mix them too much into a bland grey, the results can be very interesting...

  • lay out all the paint brushes on the newspaper....you will be washing these out a lot in the next few days!

  • begin painting canvas...i pretty much let lucy do her own thing, although i did discourage her from drawing people and houses in the beginning, and encouraged her to fill up as much of the canvas as possible. turn the canvas as you go to make sure it is getting even coverage. you don't really want a "top" and "bottom"...you want it covered.

  • let them experiment....lucy wadded up a paper towel at one point and dabbed on paint, making interesting patterns, then eventually swirled her hands in the paint and over the canvas. if you look closely at the finished product, you can find her precious little handprint hidden in the pattern. (i did have to step in when she dipped her bare foot into the paint bowl....)

  • let the first layer dry and come back to it in a day or two.

  • paint another layer on the canvas... paint over the previous patterns without covering them completely. with just one paint application, the painting will look flat and rather one-dimensional, but the layers create depth. i had lucy do three full layers on our big canvas.

  • spray a couple coats of acrylic gloss over your masterpiece, and hang it with pride!

take me out to the ballpark [oldner]